|
Notice:
All material here is copyright their original owners where indicated.
All other content is copyright Dak of Seraph and is intended for
this page only. Sites with material borrowed from will be linked
to at the bottom of the page. |
|
Notice
II: The quests are listed in their completable order. Below the
list I've written them out in the order in which I did them, which
is the most logical order to do them in.. |
| Quests: |
This
is a rather simple quest that takes you into the Eastern Altepa
desert to obtain an Altepa polishing stone. Talk to Miaux on the
top floor outside the Blacksmith's guild in North San d'Oria. She
explains her problem and asks you to help her confront the guild
with a request. When they turn her down a lone blacksmith offers
his help and you're asked to retrieve the polishing stone. If you have the Altepa crystal you can teleport there and make it easy on yourself. From the telepoint head south to another location of ruins where at the top admist some rubble you'll find a ??? at (H-8). If you don't have the crystal travel to Bastok Mines, through Korroloka, and NE a bit towards the ruins. Buff up and check the ??? when you're ready and again after the fight is over. The fight is with Decurio I-III, an Antican Paladin that casts Protect 2 and Cure 3 on himself. He really isn't much of a challenge as long as you have somebody who can tank and heal. Luckily for me I had both wrapped up into a red mage. It was only him and I, and he asked to solo it which took about five or six minutes. He was around level sixty; had stoneskin, phalanx, blink, ice spikes, and enblizzard up at all times possible; and used Convert towards the end of the fight. He didn't break a sweat, but I'm always reading horror stories about this quest so the bare minimum should be a healer, a tank, and somebody(maybe you) to deal damage. After you retrieve the Altepa polishing stone thank those who helped you and return to Miaux. She rewards you with the Peregrine (Damage 61, Delay 492, Dex+1, Vit+1, Level 42) which isn't that great but is useful for being a thief's trick buddy. Congratulations for leveling Dragoon, and congratulations for obtaining your artifact weapon! Thanks goes out to Ecto for helping me with this one. |
Click for a larger
version!
Chasing Quotas is a quest with a great story. We learn more about the Brugaire Consortium that offers us a quest for a wooden shield in Port San d'Oria.We meet a few familiar characters, and are given some room to speculate there at the end as well! To begin the quest talk to Ceraulian in Cargo Room B, Port San d'Oria, who will ask you to bring him a Golden Hairpin. After this he'll end the conversation, and you'll need to way until the next day in Japan to continue. A new day in Japan begins at 11am Eastern, 8am Pacific. They'll discuss current events, and you're next target will be Miax in North San d'Oria who you talked to for the Peregrine. Without giving away the story from Miaux you travel to the Goldsmith Guild, Bastok Markets, to talk to Ardea, then to Esca in West Ronfaure. After that you'll be on your way to the island in Battalia Downs. Note: There's two other quests that involve the island in Batallia. Since it requires at least two people to toggles the switches on the way to the island, you can most likely find people who will be willing to help if you bring them with you through Eldieme to so they can complete the other quests. This is always a good plan if you're unstaffed in the help department. The following
maps will be 100% helpful on your journeys. Eldieme is a hassle
because you'll come to an area where a gate must be toggled to let
you through. Everything attacks to sound, along with bombs that
attack to sight and magic. The black path is the path leading directly
to the hole in which you jump down. It's in the center of a very
large room. Within these large rooms is a path that leads to the
switches, which is guarded by a bomb that you'll need to be invisible
to pass. When you're at the switch it will be safe to let down both
sneak and invisible, and you'll be out of the attack range of the
bomb so you can use magic as well. |
| Drop into the grave, and you'll find yourself at the starting spot on Map 2. You'll still need sneak, but wont need invisible. Make the run to Map 3, and follow the path to the island. |
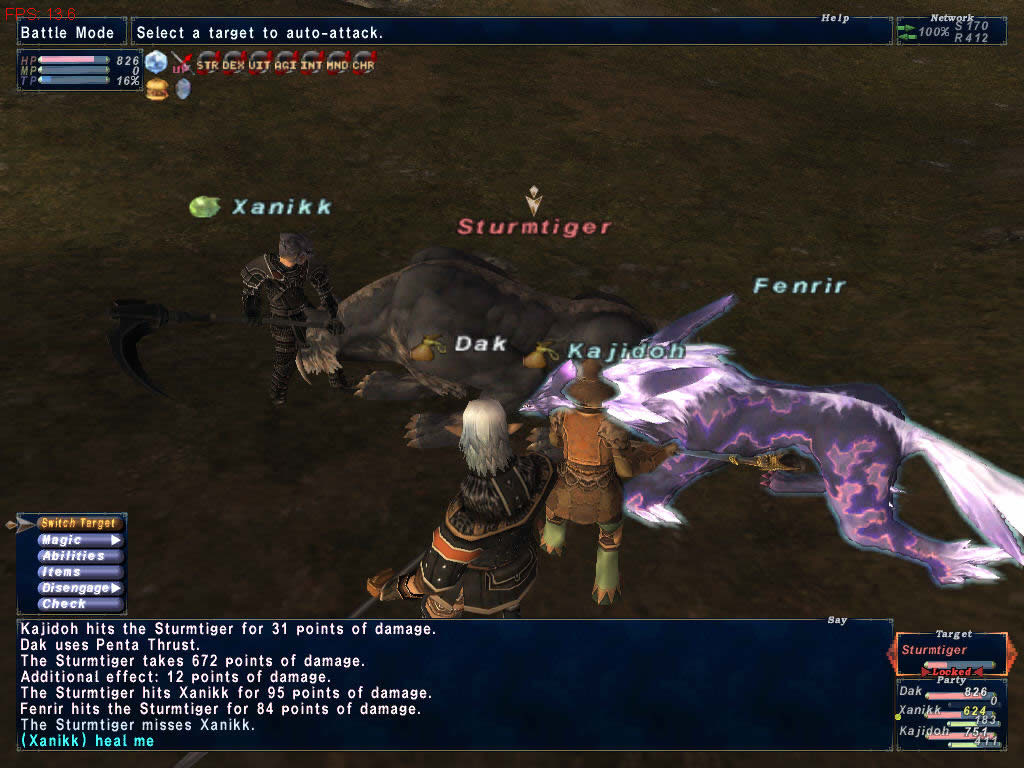
| You'll find Ahtu, a tree NM for a quest in San d'Oria, and a ??? for the quest in Selbina. Among those you'll find a ??? for your quest which will spawn Sturmtiger. He attacks very quickly, and moderately hard. He has little no defense as well which is always a plus. You'll need a standard party of people around level fifty-five at bare minimum. If you're bringing people above sixty you'll need a Paladin, Ninja, or Warrior/Ninja to tank; White Mage, Summoner, or Red Mage to heal; and you'll most likely be the damage dealer but extras always help. |
Click for a larger
version!
Check the ??? after its defeat and bring the key item back to Ceraulean. Enjoy the cutscene, your Drachen Brais, and the nice amount of speculation you'll experience! Congratulations! As you can see from the picture I had with me a level seventy-four Drk/Nin tanking, which he did very well. We also had a level sixty Summoner healing and... doing that Summoner bit. He had Fenrir and Ecliptic Growl for a nice +5 to each stat. They made the whole thing look like cake walk sans the cake. Thanks to Xavikk and Kajidoh! |
This coffer will relenquish your Drachen Greaves after you've talked to Guslam about Borghertz at least once. If you don't talk to Guslam, you'll recieve a map of the caves instead. Most people will say this task easy, which it is, but that doesn't mean one wrong move wont screw everything up. It's easy because you'll most likely have found the key while leveling in the Quicksand Caves, and should know where the entrances are. You'll need to start at the entrance in Eastern Altepa Desert in the ruins at K-6. Once inside follow the path. If you want to skip directly to Map 2, you can find another entrance at H-10 in Eastern Alepa Desert. |
| The coffers are marked in the pinkish colors. The path you should initially follow is in black, with rest and recast spots noted. Once you take the path down to Map 2 you'll most likely want to stay there because the path back up is annoying. |
Here you can use the rest spot to recast, and if you follow it, it leads to a zone to the south side of the Eastern Alepa Desert. The area adjacent to the rest spot isn't completely open as the map leads you to believe, it's more of a path around a large square area. Once you've found it, congratulations! You now have your Drachen Greaves. Raagyiihcey made my day by helping me find a coffer and then leading me to it, so thanks goes out to her! |
Here is a rather easy quest, which every job has one similar to complete. The prerequisite is completing AF1 and AF2. Dragoons must, after talking to Guslam in the Durable Shields shop in Upper Jeuno, find a Boyahda coffer key and open a coffer. Guslam will talk about Borghertz and suggest something of his could be found in Boyahda, so when you open the coffer you'll find a pair of old gauntlets. You'll probably be leveling in the Boyahda tree, so finding a key should be a piece of cake. Unfortunately you'll be sharing the area with thieves looking to pick the lock for money, and Beastmasters who find keys as they level and open coffers for money as well. |
As you can see, I've
labeled both entrances to the Boyahda Tree. I've also marked a
few unmapped paths for your ease of use. Coffers circled in green
are no sweat to run and check, but those in red you might need
a silent oil to check and/or open. You'll need sneak because these
areas are filled with Robber Crabs and Knight Crawlers, who attack
to sound. They can usually be easily avoided as parties pull them
away for EXP, but you must always check before running through.
The A-5/B-5 circle sometimes has a large Malboro enemy who is
also agressive towards sound. At G-7 there's a cliff you drop
down that isn't climbable, so you'll have to run through the small
tunnel that holds Knight Crawlers, which is one of the only places
I needed the silent oils. |
Click for a larger version!
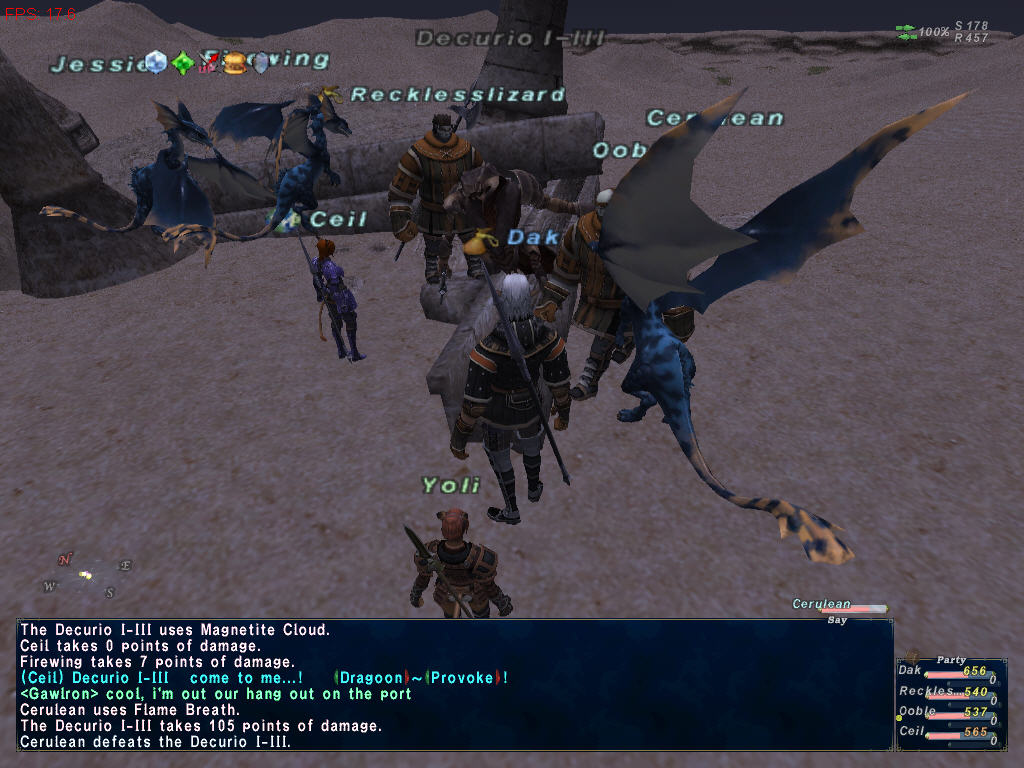
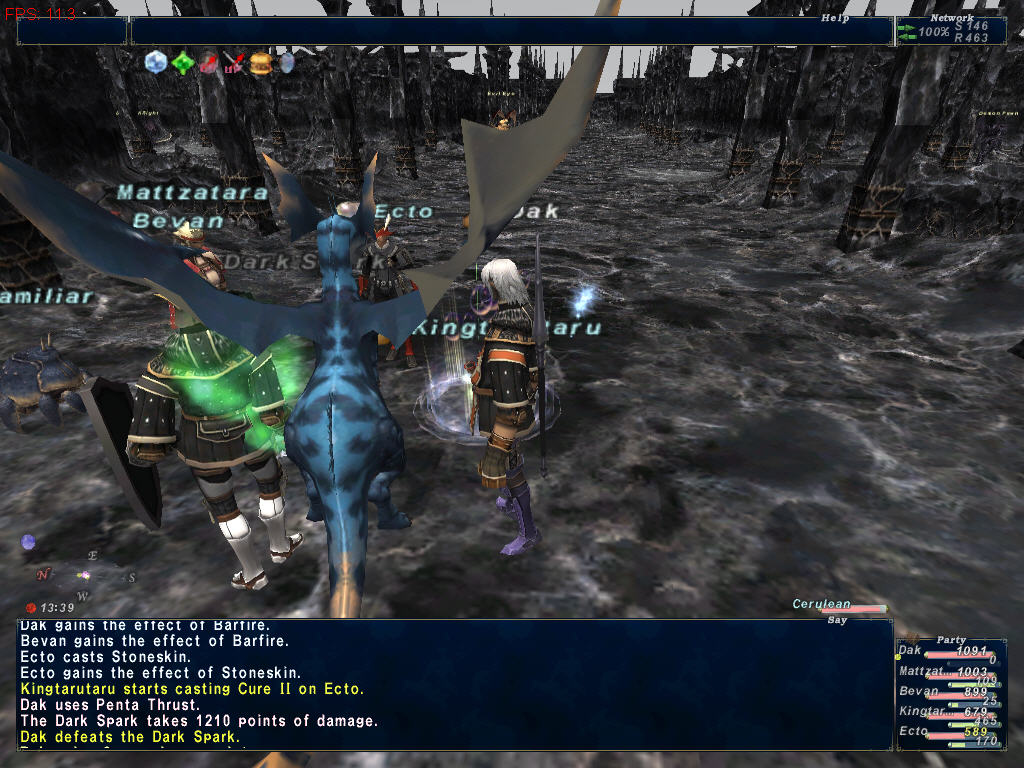
| Once you reach
the larger open area you'll notice pits beside your walkway. Below
you you'll see dozens of demons waiting to aggro if you stray too
close. If they notice you they'll link and bring up every demon
along the way and you'll have a large problem on your hands. As you can see in the picture he isn't all that hard. We brough level 70 Rdm, a 60+ Whm, a level 53 Bst and Pld, and me the level 54 Dragoon. He does have a moderately large amount of health, and is prone to explode if you don't kill him fast enough. I'd like to thank Ecto, the super Rdm, and Kingtarutaru for helping. You'll trigger Dark Spark at an area with torches, and you must decide which one to trigger because you'll need to check it again when you're done. You'll need to check the EXACT some one or you'll spawn him again. After obtaining the dark flame you'll trade it to the toolbox again for your Drachen Finger Gauntlets! Congratualtions! |
| This is a rather easy key to obtain, and an even easier coffer if you're patient. You can kill the bees that drop keys without ever having to cross a bomb, and at night bats also spawn that drop keys. The bees here have extremely powerful Final Stings that can land an upwards of 900 damage to players at very tough. |
| As you can see you'll only be attacked by bombs and bats which are shown on the map. Bombs attack to sight, and bats attack to sound but are only out at night. Once you have your key you can sit in the area labeled Coffer Watch, which is a circular area surrounding a pit of lava. One coffer spawns on your level, and one spawns on a cliff which is only accessible by taking the long way around past a bomb. The other coffer is also accompanied by a bomb, but it turns its back often so it shouldn't be a problem to open. |
| This artifact quest has one of the most interesting storylines in the game. You'll start the quest by speaking to Rahal, and then Ceraulian again. Unfortunately you're going to need another coffer key, fortunately you can find it in an EXP party, and unfortunately it's in the Kuftal Tunnel. I was able to find a key in an EXP party, but I waited until the nearing maintenance to actually find the coffer for two good reasons. One, coffers would repop on a new schedule. Two, there would be people in the main room where a few coffers spawn camping Guirve. My plan worked perfectly: I found a coffer in the main room, and asked the people camping Guirve to help me with the ghost that attacked me. |
| There's a cliff at the entrance that looks down on a pit filled with ghosts and crabs, both of which attack to sound. If you see a coffer down here you better have flee if you're planning to make it out a live. The third coffer is beyond a line of rocks that can only be accessed by Map 2. |
| The R's mark
recast spots. They may or may not be completely safe so be careful.
Worms and lizzards do not attack, so you'll be worrying about crabs
down the right side of the map, and cactaurs/spiders down the left.
You'll also come across ghosts and scorpians. Everything attacks
to sound here. If you're using oils you should only need two for
a round trip, and maybe four recasts of Sneak if you're subbing
white mage. Once you have the key item from the coffer return to Rahal. After a cutscene you'll need to travel to the Temple of Uggalipeh for a fight with two NMs. |
| Here you'll need to
follow the path, which is a quick run, to the stone door. You'll
need invisible because Tonberries and Bees attack to sight. Opo-opos
don't attack so they're safe to recast around. Keep your Wyvern
dismissed until you're ready to fight the NMs, this is important. Once inside you'll see tonberries, rumble crawlers, bees, and a branding iron. Everything here aggros EXCEPT CRAWLERS. Safe yourselves some time and leave the crawlers alone because it doesn't take long until things start to respawn. Everything here should check as DC at level fifty-eight. Take out the bees and tonberries, then rest before taking on the branding iron. The branding iron has an ability called Meltdown, which is exactly like a bomb's explosion. This ability is a wyvern killer, so keep it dismissed. Your best bet is to Super Jump as it casts, because you're most likely going to die. It doesn't always use the skill, but keep your Super Jump ready just incase. Once the room is clear sneak a Dragoon, have him call his Wyvern, and check the ??? in the center of the platform. |
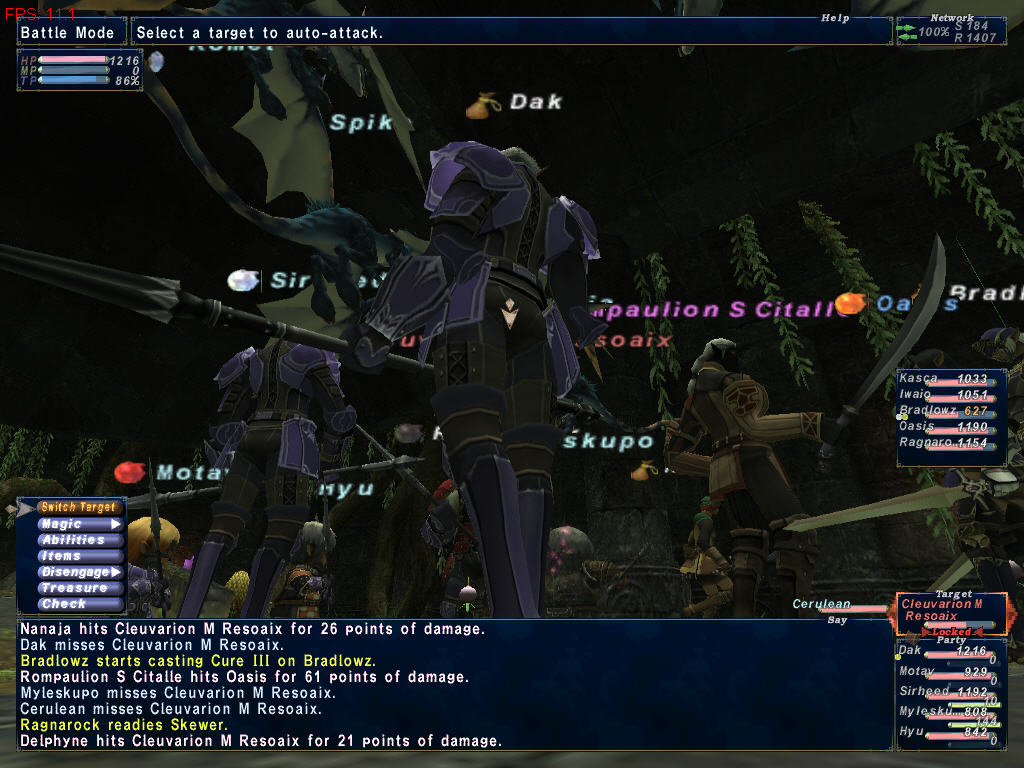
Click for a larger
version!
Both NMs
are undead, and will see through sneak if you're at yellow health.
The one with a great sword is a warrior, and the one with a normal
sword is a thief. They can and might use their two-hour abilities
so be careful. All in all they're pretty easy. |
| Maps were found on the linkshell Eternal Force's website, here. |